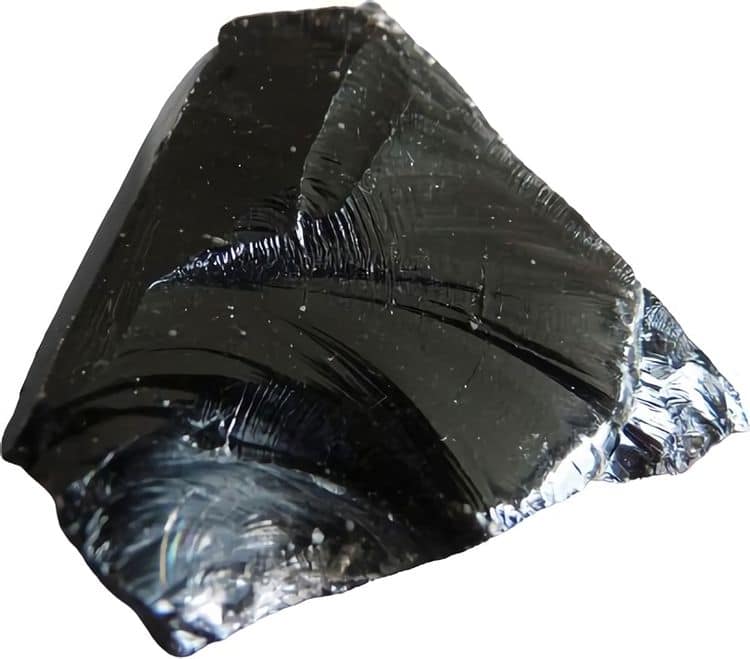
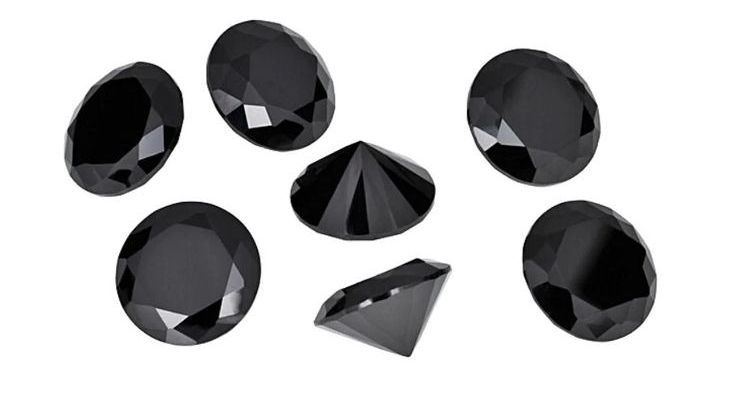
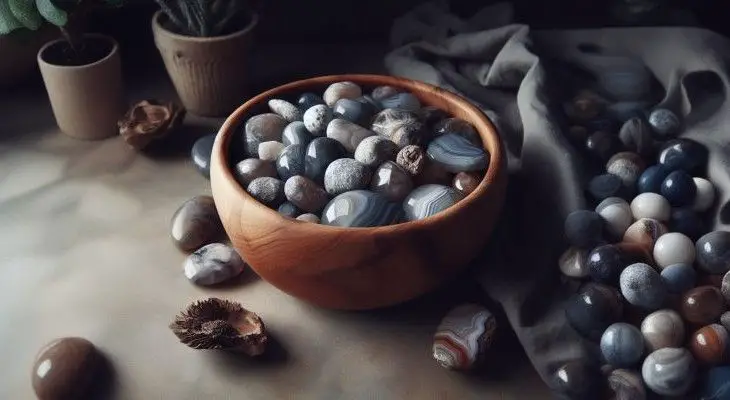
Polishing rocks can turn ordinary stones into beautiful gemstones that shine with vibrant color and luster. With some basic equipment and techniques, you can use a Dremel rotary tool to polish a wide variety of rocks at home. The versatile Dremel allows you to transform rough, dull stones into polished masterpieces with relative ease.
When embarking on any rock polishing project, preparation is key. Always start by thoroughly cleaning the rocks to remove any debris or dirt. Securing the stones in a vise or clamp provides stability and control while polishing. Proper bit selection and use of water during polishing are also vital steps outlined later. With practice and patience, anyone can master the skill of polishing stones with a Dremel.
While techniques vary based on the rock type and desired finish, the basic process involves starting with a coarse grit to smooth surfaces and gradually refining with finer polishing stages. A range of specialty Dremel bits tailored for grinding and polishing are essential accessories. Additionally, employing the right polishing compounds and buffing tools will allow you to achieve a brilliant luster. By avoiding common mistakes and following key tips covered here, you’ll be able to safely transform ordinary rocks into dazzling gems.
What is the Dremel Polishing Kit for?
The Dremel Polishing Kit is perfect for polishing rocks of all shapes and sizes. It can be used to remove scratches, dirt, and other blemishes from the rock’s surface. The kit also includes a storage case to keep everything together when not in use.
It includes stones, each with a different level of coarseness, to help you get your rock looking shiny again in no time!
It may also include
- Diamond grinding wheels
- Ball burrs
- Dressing stone
- Mandrel
- Sanding drums and discs
- Polishing compound
- Storage case
Safety first
Everyone should take precautions while using the Dremel Polishing Kit. It’s important to wear safety goggles when working with small, high-speed tools like this one.
It is also recommended that you use a face mask or dust mask to protect your lungs from any particles in the air created by grinding and polishing stones. Don’t forget to protect your hands with gloves, too!
The Dremel Polishing Kit can be a lot of fun, but it’s important to stay safe while using it. Follow the safety precautions listed above and you’ll be good to go. Have fun polishing your rocks!
How to polish rocks with Dremel Polishing Kit
Start by cleaning your rocks to make sure they are dirt-free before going any further.
Use a soft cloth to clean your rocks and then dry them with another piece of the same cloth or a different one. This way, you can be sure that no particles from the first cleaning process will get caught up in polishing later on!
You should only use polishing kits on rocks that have been cleaned and dried first. If you try to polish a rock that is still wet or dirty, the kit may not work as well and could cause damage to the equipment.
Next, grind the stone with diamond grinding wheels. Do this by placing the wheel onto your rock and turning it on for a few seconds at a time, checking the stone each time before moving to another part of it.
Now use ball burrs or dressing stones to smooth down any rough spots left behind from the diamond grinding wheel. These tools will also help you create rounded edges around the rock.
Now use a polishing compound to give your finished stone a nice shine! The kit may include one or more different types of compounds, so take some time to experiment and figure out which works best for you. You can choose the coarseness level based on how much material is in the stone and what kind it is: softer rocks or smoother stones will need a lighter touch while harder rocks or rough stones require more coarseness.
Once you’ve found the perfect compound for your rock, it’s time to get polishing! Just like with using other tools in this kit, start by cleaning and drying your stone before applying any polishing product.
Understanding the Tools in the Dremel Polishing Kit
Before diving into the art of rock polishing, it’s important to get familiarized with the tools included in the Dremel Polishing Kit.
- Rotary Tool: The Dremel rotary tool is the core of the kit. It’s a handheld power tool with a rotating tip that allows you to attach different bits for a variety of tasks.
- Attachments: The kit includes a variety of attachments for specific tasks. These include a sanding attachment for smoothing rough edges, a polishing wheel for applying polish, and a buffing wheel for bringing out the shine.
- High-quality Dremel Accessories: You also have a range of accessories like diamond grinding wheels, ball burrs, and dressing stones to help you refine the texture of your rocks.
- Protective Gear: Safety is paramount in lapidary. The kit often includes safety goggles and gloves, and it’s recommended to also use a dust mask to prevent breathing in rock dust.
Remember, the Dremel tool is not just a polishing tool. It’s a versatile piece of equipment that can be used for carving, engraving, grinding, sharpening, cleaning, and sanding. The key is to understand which attachment or accessory to use for each task.
Steps to Master the Art of Stone Polishing with Dremel
Step 1: Secure Your Rock
Use a vice to hold your rock steady while working. Remember to keep the rock slightly wet with soapy water during the entire polishing process. This reduces dust and helps keep the rock cool.
Step 2: Start Sanding
Using your Dremel rotary tool and the appropriate sanding attachment, start sanding your rock. Remember to progress from coarse to finer sandpaper grades as you go along.
Step 3: Use a Grinding Bit
Next, attach a grinding bit on your Dremel. This step is especially important for rocks with sharp edges or protruding features.
Step 4: Move to the Polishing Stage
Using the felt polishing wheel, apply a dab of the rock polishing compound. Buff the polish into the rock, covering the entire surface. Rotate the rock as you go, ensuring all surfaces get equally polished.
Step 5: Clean and Check
Rinse the rocks under running water and let them dry. Examine your rock. If it’s not as shiny as you want, repeat the polishing step.
Remember, lapidary is an art. As you use a Dremel to polish rocks more and more, you will develop your technique and ability to create beautifully polished stones.
These sections would not only provide a more detailed step-by-step guide but also delve into the use and purpose of the different components in the Dremel Polishing Kit. Note that you’ll need to adjust the table of contents to include these new sections.
How to clean up
When you’re finished polishing your rocks, it’s important to clean up after yourself. This means taking all of the equipment apart and putting it back into the storage case.
Make sure everything is put away properly so that you don’t lose any pieces and can use them again next time. It’s also a good idea to wipe down the work surface and any other tools you used with a clean cloth to remove any dust or debris.
This way, you’ll be ready to start polishing rocks again the next time you feel like it! And when everything is put away and cleaned up, you can sit back and admire your beautiful new creations. Congratulations on a job well done!
Learn How to Polish Rocks and Gemstones with a Dremel
YouTube is a great resource for learning how to polish rocks and gemstones with a Dremel. There are many helpful videos that demonstrate techniques and provide tips.
Here are some recommended YouTube videos to check out:
- How to Polish Rocks with a Dremel – This video by Jason Woolman provides a great overview of the polishing process using a Dremel rotary tool. He polishes an agate slice and does a wonderful job explaining the techniques.
- Polishing Stones with a Dremel by Nick’s Rock Shop – Nick demonstrates polishing a petrified wood specimen from start to finish. Great for beginners.
- How to Polish Gemstones by Mr. Tumble – Mr. Tumble’s channel has many tutorials on rock polishing that are easy to follow. This video focuses on polishing gemstones like amethyst.
The basic process is to start with a coarse grit to grind down rough surfaces, gradually moving to finer polishing compounds. A buffing wheel helps add the final lustrous shine. Always check videos for any safety tips too.
Recommended Equipment
To polish rocks at home, you’ll need some basic equipment:
- Dremel rotary tool – The heart of a rock polishing setup. Variable speed is ideal.
- Assorted grit sanding drums and mandrels – For initial grinding. Start with 60-80 grit.
- Polishing compound – Aluminum oxide or cerium oxide work well. Use varying grits.
- Buffing wheels – For final polishing. Get different materials like felt or cotton.
- Safety gear – Protective eyewear, mask, gloves, etc. Important when rock polishing.
Check out the Dremel Rock Polishing Kit on Amazon which contains many of these essential supplies. Always invest in quality equipment for the best and safest results.
The key is experimenting with different techniques and grits until you get the hang of polishing rocks. It’s a rewarding hobby that takes some practice. Be sure to check out the video tutorials and get polishing!
FAQs
Can I use Dremel Polishing Kit on stones with the same type of material?
Yes, however, it is recommended that you check how well your product works. To do this scrape a small amount off and apply to an inconspicuous area (e.g., bottom). Do not place any compound where there are visible cracks or fractures.
Can I use Dremel Polishing Kit on other materials?
No, the kit is specifically designed for polishing rocks. Trying to use it on other materials could damage the equipment or cause injury.
How long will it take me to polish a rock with the Dremel Polishing Kit?
This depends on a variety of factors, including the size and type of rock, how rough it is, and which polishing compound you are using. Take some time to experiment until you find what works best for you.
Is it safe to use Dremel Polishing Kit around children?
Parents should always carefully read and follow all safety instructions before allowing their children to use any power tools. It is always important to exercise caution when using any type of equipment, especially around children.
Is it safe to use Dremel Polishing Kit around pets?
It is always important to exercise caution when using any type of equipment, especially around animals. Pets may be curious about the new tool and could get injured if they try to play with it or you drop accessories.
Can I use Dremel Polishing Kit on jewelry?
No, the kit is specifically designed for polishing rocks and should not be used on any other materials such as metal or glass. This could cause damage to your equipment and injure you.
Are there any warnings that come with the Dremel Polishing Kit?
Yes, always read and follow all safety instructions before using any power tool. Failure to do so could result in injury.
Is it necessary to wear safety goggles when using the Dremel Polishing Kit?
It is always a good idea to wear safety goggles when using any type of power tool, especially one that could result in injury.
What should I do if the accessory breaks during use?
If an accessory gets broken, stop using the product immediately and contact customer service for assistance. Do not try to repair or replace anything yourself; this could lead to serious injuries.
Final thoughts
When you need to polish rocks, this Dremel Polishing Kit is the perfect tool. It’s easy enough for a beginner and powerful enough for an expert. The kit includes more than just polishing compound as well–you’ll find some hand protection and goggles included in your purchase as well! We have all of that information on our blog if you want to learn more about what makes this product so great or how it can be applied to different types of stones. Have any thoughts on the Dremel Polishing Kit? If not, consider trying one out today!

Leave a Reply