Do you have a rock in your yard that’s looking a little dull? Want to bring the shine back to its former glory? You’re not alone. Rock burnishing is popular for several reasons – it can be an easy project, and it can make a big difference in the appearance of your home landscape. In this blog post, we’ll cover all you need to know about how to restore the shiny surface of stones at any level of expertise!
What is Rock Burnishing?
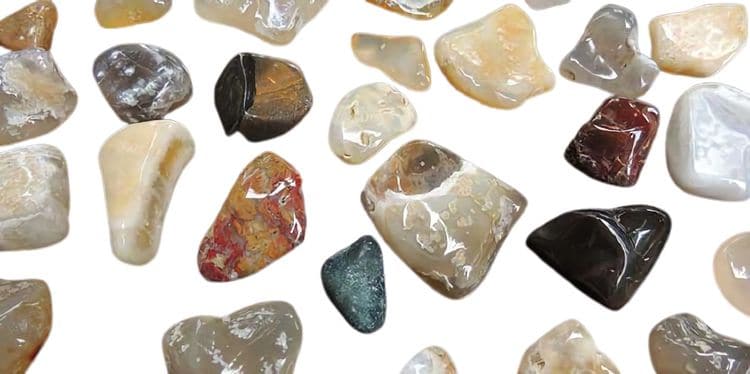
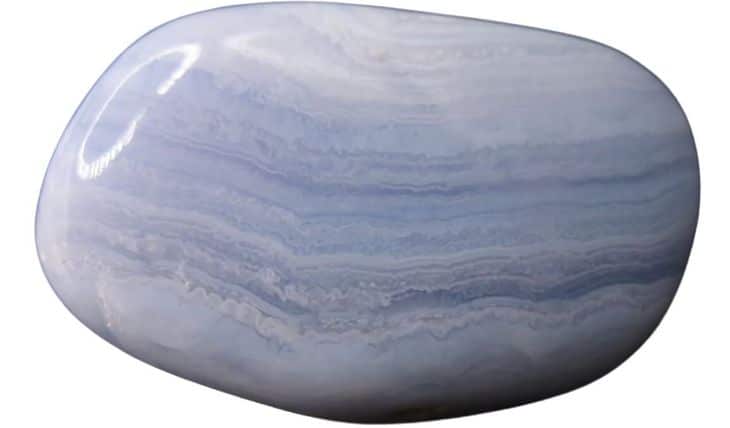
Burnishing is a general term for polishing. What we’re talking about here specifically, though, is restoring the shine on rocks and stones that have lost some of their reflective properties over time (or as part of an ongoing process). Burnishing does not refer to cutting or modifying stones – this would be called honing or shaping. When you burnish a stone, you’re restoring its surface to the way it was when it came out of the quarry for optimal luster and shine.
How to do it
There are three primary ways to burnish a stone: mechanical, chemical, and electrolytic (or electrochemical). Mechanical means using an abrasive tool like sandpaper or steel wool. Chemical refers to applying chemicals like vinegar and lemon juice. Electrolysis is the most complicated but potentially best way – it uses electricity from batteries or power outlets to speed up the chemical process.
Why you should do it
If you have stones in your landscape that are looking less than great, rock burnishing is a quick way to enhance their appearance. It’s also an effective stepping stone toward more elaborate landscaping projects like building low walls or water features. Finally, if you’re just trying to better understand how this process works before committing yourself financially and logistically to something more involved, you can also rock burnish on your own.
The process of rock burnishing (step-by-step)
There are different ways to burnish stones, but this is the general process:
- Clean/wash your stone. Make sure it’s free of any dirt or debris that might dull its shine.
- Place your stone in a tumbler. Make sure there’s enough water in the tumbler to keep your stone wet throughout the process.
- Fill a bowl with coarse sand and add some dish soap. Put it in your sink, then fill up the rest of that side with hot tap water. You’ll be dipping your stones into this mixture from now on when you want to clean them.
- In about an hour check the result. If your stone is still dull, pour some more sand into the bowl and add a little bit of dish soap. Then re-dip it in the water for another hour or so until you get better results.
Tips for success
There are a few things you can do to increase your chances of success during this process. These will help you get the results you want faster and with less effort:
- Use only stones that aren’t too large or heavy – anything bigger than, say, orange may be difficult for tumbling. Also, avoid using rocks that have sharp edges – these can damage the machine.
- Add more coarse sand to your tumbler if you’re not seeing enough progress after an hour or so, but mix it in slowly and carefully with a spoon to avoid disturbing any stones that are already polished.
- Don’t leave stones in the tumbler overnight – this can cause them to warp or crack. Leaving two hours is usually enough time for most rocks to shine again.
- Rinsing stones is very important – otherwise, they’ll be covered in soap residue when re-dried! To avoid this use a large strainer and dunk the stones in water.
- If your rocks are very dirty, you can speed up rock burnishing by using some dish soap while tumbling them. Just make sure to rinse well afterward – otherwise, it will create a film on top of your stone that dulls its shine!
- Using baking soda for better results is recommended if you’re using a tumbler with water – it can help prevent tarnish.
- If you’re using sand from your backyard instead of the fine, powdery kind that’s often used for rock burnishing, you’ll probably need to add dish soap as well to avoid scratches and other imperfections on your stones.
- For better results, you can add a few drops of lemon juice or vinegar to your cleaning solution when polishing rocks. This helps remove any tarnish and dullness.
FAQs
Is there any way to do this without using sand?
No, you need coarse sand for rock burnishing - it's the only thing that will effectively remove scratches and other imperfections on stones. It is possible to use small rocks or pebbles instead of sand in some tumblers, but this can cause the stones to get stuck together, damage the machine or even crack.
What about using baking soda instead of sand?
Baking soda can be used for rock burnishing - just add a few drops of lemon juice and some coarse sand if needed! But you have to rinse it extremely well after tumbling. Leaving any residue on the stone can damage its surface or dull it.
How long should I try rock burnishing myself before giving up?
If you don't see any progress after two hours, pour more coarse sand into your tumbler and add a little dish soap to every batch of stones that goes in for another hour or so. This will help remove stains and other imperfections from the stones.
How can I speed up this process?
If your stone is still dull after two hours, it's a good idea to add more coarse sand to your tumbler and mix it in carefully with a spoon. You can also try adding dish soap or baking soda if it's suitable for your stones.
How many hours should I leave my polished rock in the tumbler?
You can usually get great results after leaving a stone in tumbling mix overnight, but you shouldn't leave them there more than 24 hours - this may cause some of the rocks to warp or crack . Leaving two hours is usually enough time for most rocks to shine again.
How do I get my polished stones out of the tumbler?
You can use a strainer and dunk them in some water if you're using a machine with water - just make sure not to leave any residue on your stones. If you're using a tumbler with sand instead of water, you can use a spoon to carefully take the stones out.
What should I do if my stone is scratched or damaged?
If your rocks are very dirty after being polished, you can speed up rock burnishing by using some dish soap while tumbling them. Just make sure to rinse well afterward - otherwise, it will create a film on top of your stone that dulls its shine!
What should I do if my stones are covered in soap residue after being cleaned?
If you're using sand from your backyard instead of the fine, powdery kind that's often used for rock burnishing, you'll probably need to add dish soap as well. For better results, you can also add a few drops of lemon juice or vinegar to your cleaning solution when polishing rocks. This helps remove any tarnish and dullness.
Conclusions
Rock burnishing is a process that has been around for centuries. It involves rubbing or polishing the surface of the stone to give it an attractive finish and make it more durable. The technique can be applied to many types of rock, but turquoise is one type where this finishing technique shines. What have you tried? Share your experience below – we’d love to hear about what worked (or didn’t) for you!

Leave a Reply