Burnishing rocks is a polishing technique used by lapidarists and rock tumblers to bring out a smooth, glossy luster. This is achieved through gently rubbing the rocks against a soft surface in the presence of a lubricating agent like soap, oil, or borax. Borax in particular is a popular choice for burnishing due to its water softening abilities and ease of use.
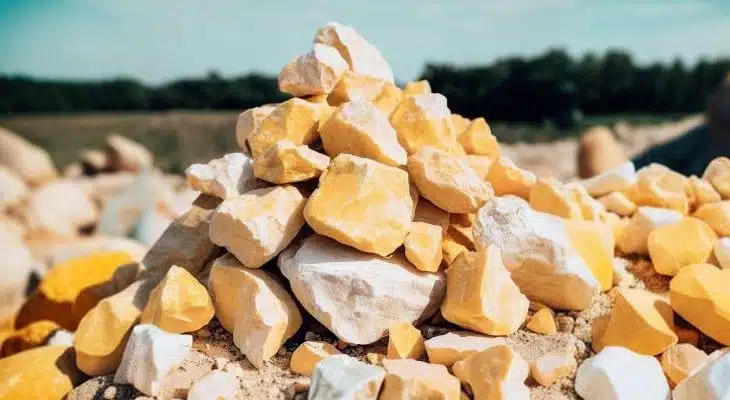
Borax is a white mineral powder that dissolves readily in water. In dissolved form, it can enter pores and cracks on rock surfaces and act as a lubricant. The viscosity of the solution helps carry any loose grit to smoothen rough edges. Borax also softens hard water by tying up minerals like calcium and magnesium. This prevents the formation of soap scum during burnishing. The end result is a solution that can penetrate rock crevices and enhance the tumbling action.
While some tumblers prefer alternatives like grated ivory soap, borax remains a staple burnishing agent. It produces impressive luster at low cost and effort. Simply adding a tablespoon per pound of rocks produces good outcomes. The borax burnishing step can be done with rotary or vibratory tumblers. Tumbling duration varies based on factors like rock hardness and tumbler capacity. With the right know-how, borax can transform rough, lackluster stones into dazzling polished gems.
What is Burnishing?
Burnishing is a technique used to smoothen and polish rough or porous surfaces. It is commonly used in metalworking, pottery, and jewelry-making. Burnishing can also give rocks and gemstones a glossy appearance.
Why Use Borax?
Borax is a mineral that can be found in its natural form in dried-up lake beds. It has been used for centuries for its cleaning and polishing properties. Borax also has a low toxicity level, making it safe for household use.
The Role of Soap in Rock Tumbling
Modern rock tumbling uses a combination of abrasives like silicon carbide grit, polishing agents like cerium oxide, and soap to smooth and polish stones. Ivory soap in particular plays an important role in the tumbling process.
Ivory soap is 99.44% pure, with no dyes, fragrances or additives. A small bar of ivory soap grated into fine flakes or powder is added during the coarse grit stage and sometimes the fine grit/polishing stage. The soap helps carry the grit, keeping it suspended in the tumbling slurry. It also lubricates the tumbling action, preventing the grit from sticking to the barrel or stones. Too much soap can create excess suds so use approximately 1 tablespoon soap powder per pound of tumbling material.
For best results, use distilled water to prevent soap scum buildup. Hard water combines with soap to create a sticky residue. This can be avoided by using purified or distilled water. Always check your barrel regularly during the tumbling process to ensure grit is not sticking to the inside walls. Rotate stones to enhance even smoothing.
After the coarse and fine grit stages, do a thorough wash before polishing. Then add the stones, polishing agent like cerium oxide, and a smaller amount of soap – 1 teaspoon per pound. Let the polishing slurry work its magic for the recommended time according to rock hardness, usually 5-7 days.
When the cycle finishes, admire your new creations! Tumbling brings out the vibrant colors and patterns in stones. With its unique properties, a simple bar of ivory soap helps people transform ordinary rocks into beautiful tumbled stones.
Materials You Will Need
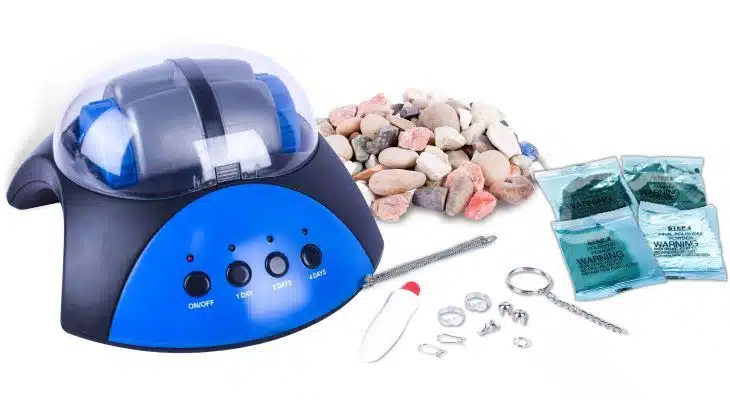
To get started with burnishing rocks with borax, you’ll need the following materials:
- A soft cloth or brush
- A container for mixing
- Borax powder
- Water
- Rocks or gemstones
Step-by-Step Guide
Now that you have your materials, follow these simple steps to burnish your rocks with borax:
- Mix borax and water together in a container, maintaining a 1:3 ratio. For example, if you’re using 1 cup of water, then mix in 1/4 cup of borax powder.
- Dip your rocks or gemstones in the mixture.
- Using a soft cloth or brush, gently rub the rocks or gemstones for a few minutes.
- Rinse the rocks thoroughly with clean water to remove any leftover borax powder.
- Dry them off with a clean cloth.
- Admire your newly polished rocks!
Stage-by-Stage Guide to Tumbling Rocks with Borax
Following the initial burnishing of rocks with borax as described above, it is also possible to tumble polish rocks using borax and some other materials. Here is a step-by-step guide to tumble polishing rocks, focusing on each stage of the rock tumbling process.
Stage 1: Coarse Grind with Borax
In the first stage of the tumbling process, it’s crucial to remove rough edges and shape your rocks. You will need your rock tumbler, coarse grit, water, borax, and of course, your batch of rocks. This step is often referred to as the rough grind, or stage 1 of the tumbling process.
- Add your batch of rocks to your tumbler barrel. The barrel should be filled up to about 2/3 full of rocks for good tumbling action.
- Add coarse grit to the barrel. The general rule is 2 tablespoons of grit per pound of rocks.
- Add two tablespoons of borax to help with the tumbling process.
- Fill the barrel with water just until you can see it above the surface of the rocks.
- Close the barrel and put it on your rotary tumbler to spin.
This stage typically takes about a week. The exact time depends on the hardness and size of the rocks, and the tumbling results you desire.
Stage 2: Medium/Fine Grind
The second stage, or stage 2 of the tumbling process, involves using finer grit to further smooth the rocks.
- Carefully clean the rocks from the previous stage to ensure no coarse grit remains. Clean the tumbler barrel too. You can use a solution of soap and borax for this final clean.
- Put the rocks back into the barrel, add fine grit and two tablespoons of borax per pound of rocks.
- Fill the barrel with water, just as in stage one, and let the rotary tumbler run for another week.
This stage further smooths the surface of the rocks and prepares them for the pre-polish stage.
Stage 3: Pre-Polishing
In the third stage, or pre-polish stage, you’re getting the rocks ready for the final polish. At the end of this stage, the rocks should have a matte sheen and look almost like they will at the end of the tumble.
- Again, clean the rocks and the tumbler barrel thoroughly to remove the fine grit from the previous stage.
- Put the rocks and pre-polish (also known as aluminum oxide polish) in the tumbler barrel. Remember to add borax – 2 tablespoons per pound of rock.
- Fill with water and let your tumbler run for a week.
By the end of this stage, your rocks should be very smooth. If the rocks aren’t as smooth as you’d like, you might want to repeat stage 2.
Stage 4: Polishing
Now we’re ready for the final stage – the polish stage. This is where you’ll see the fruits of your labor. The rocks will become shiny, almost like glass.
- After cleaning your rocks and the tumbler barrel from the pre-polish stage, put your rocks back into the barrel.
- Add aluminum oxide polish, a pinch of ivory bar soap, and borax in the tumbler. The amount of borax should be the same as in previous stages – 2 tablespoons per pound of rock.
- Add water in the barrel and let the rotary tumbler run for a week.
At the end of this stage, your rocks should have a good polish and shine!
Burnishing Step with Borax
Burnishing is an optional step to add extra shine to your rocks after the polishing stage. You can consider it as an extra credit assignment to get the most out of your tumbling results.
- Remove the polished rocks from the barrel and clean them thoroughly.
- Put the rocks back into the barrel with water, a small amount of soap, and two tablespoons of borax.
- Let the tumbler run for a few hours.
After this final optional step, you will find that the borax adds a beautiful luster to the rocks, making them sparkle even more.
The time it takes for each stage can vary depending on the hardness and size of the rocks you’re tumbling. Always keep an eye on your rocks between stages to ensure the best results. Some rocks like harder rocks may need more time at each stage than softer ones. Remember to keep safety in mind as well and ensure that children and pets can’t access the tumbling area.
Through careful and patient tumbling, you can transform rough rocks into beautiful, polished stones. Whether it’s your first rock or your hundredth, the magic of seeing the final results never fades. Now that you’re armed with this knowledge, it’s time to get out there and start tumbling!
Tips and Tricks
- Avoid using too much borax powder as it may become difficult to rinse off.
- It is important to use a soft cloth or brush to avoid scratching the surface of your rocks.
- If your rocks or gemstones have stains or marks, you can add a small amount of vinegar to your borax mixture.
FAQ
Can I use borax to clean my rocks?
Yes, borax can be used to clean rocks, but it is important to understand that it is not suitable for all types of rocks. Some rocks, such as limestone, are prone to etching and may be damaged if they come into contact with borax solution.
What is the best type of borax to use for burnishing rocks?
We recommend using natural borax powder without additives or fragrances. You can usually find this type of borax powder in the laundry aisle of your local grocery store.
Can I reuse the borax mixture?
Yes, you can reuse the borax mixture for several rounds of burnishing. However, as you continue to reuse the mixture, it may become less effective due to dirt and debris that may collect in the solution.
How long does the burnishing process typically take?
The length of time it takes to burnish your rocks depends on the size and type of rocks you are working with. Typically, it takes a few minutes of gentle rubbing with the borax mixture to achieve a polished appearance.
Is borax safe to use for burnishing rocks?
Borax is safe to use for burnishing rocks as long as it is used correctly and in accordance with the instructions provided. It is important to avoid ingesting borax and to keep it away from children and pets. If you are unsure about the safety of using borax for burnishing, consult with a professional rock collector or jeweler.
Final Words
Now that you know how to burnish rocks with borax, you can add some extra shine to your collection. With this simple and affordable technique, you can create new decorative pieces and even transform old rocks into fresh, polished ones. Give it a try today!

Leave a Reply