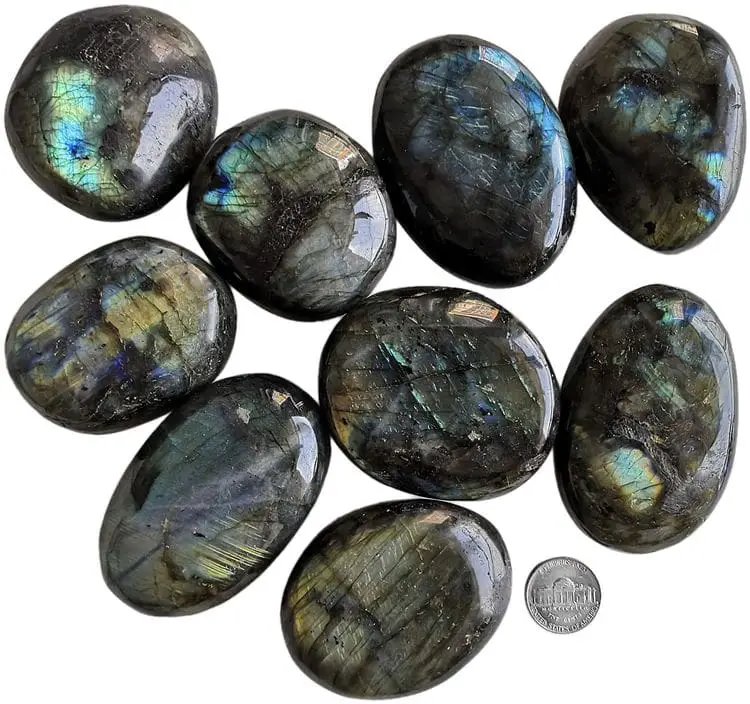
Polishing crystals by hand is a skill that many people don’t think they’re capable of mastering. It can be intimidating and frustrating to start, but with the right tools and some patience, you’ll be on your way to creating beautiful polished crystal jewelry in no time! In this blog post, we will give you step-by-step instructions for polishing crystals by hand.
Tools and Materials for Polishing Crystals by Hand
Many tools can be used to polish crystals, but the most important tool is patience. Patience will help you master this skill much more quickly than if you rush through it so take your time! Here’s a list of things you’ll need to get started:
- Sandpaper. When it comes to choosing sandpaper, the important thing is that you choose something rough. If you’re just starting we recommend using 60 or 80 grit sandpaper and then gradually work your way up to higher numbers like 150 and 220 as you become more proficient at polishing by hand.
- Polishing cloths. When you choose a polishing cloth, the most important thing is that it’s soft and flexible. If your cloth doesn’t bend easily then it won’t be as effective at removing scratches from crystals! We recommend using a muslin or chamois cloth to polish by hand because they are both very soft and super-absorbent.
- A small brush to remove any dust from the crystals before you start.
- A bowl of water to rinse your cloth in between polishing steps and a towel for drying off your crystals afterward!
Step-by-step Instructions for Polishing Crystals by Hand
Now that we’ve gone over the materials needed, let’s go over how to polish crystals by hand.
- Clean the Crystals. You’ll want to make sure that the crystals are free of any dirt, dust, or debris before you begin polishing them. If possible, use a small brush to remove anything stuck on your crystals.
- Lay the lowest grade sandpaper on the polishing cloth. Make sure that you’re working on a flat surface when you do this so your crystals don’t roll off in the middle of polishing! Once you have placed your sandpaper, pour just enough water onto it.
- Now place one crystal at a time into the polish.
- Gently rub the surface of each crystal with your polishing cloth, making small circles as you move across its surface. If you’re using aluminum foil to help create a smooth surface for polishing, place it under your sheet of sandpaper and then lay the crystals on top before rubbing them down with the polishing cloth.
- If the crystals seem to be getting stuck or are hard to move across your polishing cloth, you can use a dab of dish soap on the tip of the toothbrush to help lubricate it. Be careful not to add too much soap though! You want just enough that when you brush over each crystal they slide easily against your polishing cloth.
- Once you’ve finished polishing all of your crystals, let them dry completely! They must be completely dry so that there is no water or other moisture left behind. If any small bubbles form during this time, just pop them with the tip of a pin and continue drying until your crystals are completely smooth.
FAQs
Why is it important to use rough sandpaper when polishing crystals by hand?
When you polish crystals, the goal isn't to make them smooth like glass. If they're too shiny then people will think that they are plastic! The idea with crystal jewelry is for your stones to sparkle and catch the light, so you want them to have a bit of texture. That's what makes them look so prismatic!
Can I use toothpaste instead of sandpaper when polishing my crystals?
Yes, you can substitute other things in place of sandpaper for this purpose. Make sure that whatever you choose is not too abrasive though! Toothpaste is a great alternative because it has just the right amount of grit to remove scratches from crystals without being too rough.
Why do I need to rinse my polishing cloth in water between steps?
If you don't get your polishing cloth wet before moving on to each step, then there will be sandpaper dust stuck to it and that can scratch your crystals! You want each of the different grits in this process to be completely clean before you move on to the next one.
Final Thoughts
Polishing crystals can be a daunting task for most people, especially if they don’t know the right tools and materials to use. We’ve compiled some of our favorite methods that help you polish crystals by hand, which is not only an enjoyable activity but also one with many benefits! If you’re looking to try something new this weekend or just want to give your crystal collection a little TLC, read on for step-by-step instructions with all the supplies needed. You may never look at your prized possessions in quite the same way again!
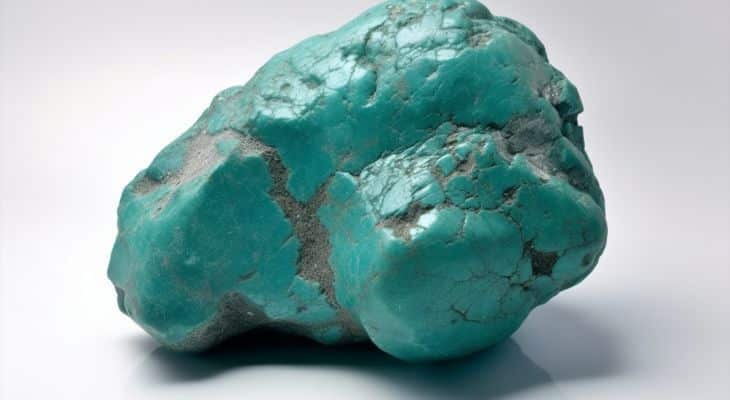
After polishing the crystals you may also try polishing turquoise or any other rock.

Leave a Reply